 Replication
 Console
 Cache
Cache
 Encryption
 Versioning
 Observability
 Object Immutability
 Key Management Server
 S3 Compatibility
 Identity + Access Mgt
 Catalog
 Object Prompt
 Lifecycle
 Firewall
 AIHub
AIHub
 Erasure Code Calculator
 Reference Hardware
 Integrations with MinIO
 Download MinIO Object Store
 Events
MinIO Object Storage for MacOS
MinIO is an object storage solution that provides an Amazon Web Services S3-compatible API and supports all core S3 features. MinIO is built to deploy anywhere - public or private cloud, baremetal infrastructure, orchestrated environments, and edge infrastructure.
This site documents Operations, Administration, and Development of MinIO deployments on macOS platforms for the latest stable version of MinIO: RELEASE.2024-12-18T13-15-44Z.
MinIO is released under dual license GNU Affero General Public License v3.0 and MinIO Commercial License. Deployments registered through MinIO SUBNET use the commercial license and include access to 24/7 MinIO support.
You can get started exploring MinIO features using the MinIO Console and our play server at https://play.min.io.
play is a public MinIO cluster running the latest stable MinIO server.
Any file uploaded to play should be considered public and non-protected.
For more about connecting to play, see MinIO Console play Login.
Quickstart: MinIO for Mac OSX
This procedure deploys a Single-Node Single-Drive MinIO server onto MacOS for early development and evaluation of MinIO Object Storage and its S3-compatible API layer.
For instructions on deploying to production environments, see Deploy MinIO: Multi-Node Multi-Drive.
Prerequisites
Read, write, and execute permissions for the user’s home directory
Familiarity with using the Terminal
Procedure
Install the MinIO Server
Open a Terminal and run the following command to install the latest stable MinIO package using Homebrew.
brew install minio/stable/minio
Important
If you previously installed the MinIO server using
brew install minio, then we recommend that you reinstall fromminio/stable/minioinstead.brew uninstall minio brew install minio/stable/minio
Open a Terminal, then use the following commands to download the latest stable MinIO binary, set it to executable, and install it to the system
$PATH:curl -O https://dl.min.io/server/minio/release/darwin-arm64/minio chmod +x ./minio sudo mv ./minio /usr/local/bin/
Open a Terminal, then use the following commands to download the latest stable MinIO binary, set it to executable, and install it to the system
$PATH:curl -O https://dl.min.io/server/minio/release/darwin-amd64/minio chmod +x ./minio sudo mv ./minio /usr/local/bin/
Launch the MinIO Server
From the Terminal, use the
minio serverto start a local MinIO instance in the~/datafolder. If desired, you can replace~/datawith another location to which the user has read, write, and delete access for the MinIO instance.export MINIO_CONFIG_ENV_FILE=/etc/default/minio minio server --console-address :9001
Status:         1 Online, 0 Offline.
API: http://192.168.2.100:9000  http://127.0.0.1:9000
RootUser: myminioadmin
RootPass: minio-secret-key-change-me
Console: http://192.168.2.100:9001 http://127.0.0.1:9001
RootUser: myminioadmin
RootPass: minio-secret-key-change-me

Command-line: https://min.io/docs/minio/linux/reference/minio-mc.html
   $ mc alias set myminio http://10.0.2.100:9000 myminioadmin minio-secret-key-change-me

Documentation: https://min.io/docs/minio/linux/index.html
The
APIblock lists the network interfaces and port on which clients can access the MinIO S3 API. TheConsoleblock lists the network interfaces and port on which clients can access the MinIO Web Console.Connect your Browser to the MinIO Server
Access the MinIO Console by going to a browser (such as Safari) and going to
https://127.0.0.1:9000or one of the Console addresses specified in theminio servercommand’s output. For example, Console: http://192.0.2.10:9001 http://127.0.0.1:9001 in the example output indicates two possible addresses to use for connecting to the Console.While port
9000is used for connecting to the API, MinIO automatically redirects browser access to the MinIO Console.Log in to the Console with the
RootUserandRootPassuser credentials displayed in the output. These default tominioadmin | minioadmin.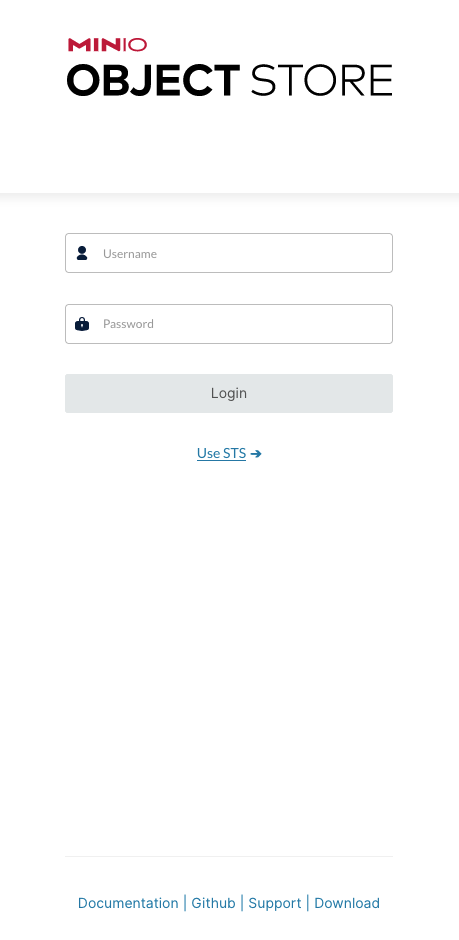
You can use the MinIO Console for general administration tasks like Identity and Access Management, Metrics and Log Monitoring, or Server Configuration. Each MinIO server includes its own embedded MinIO Console.
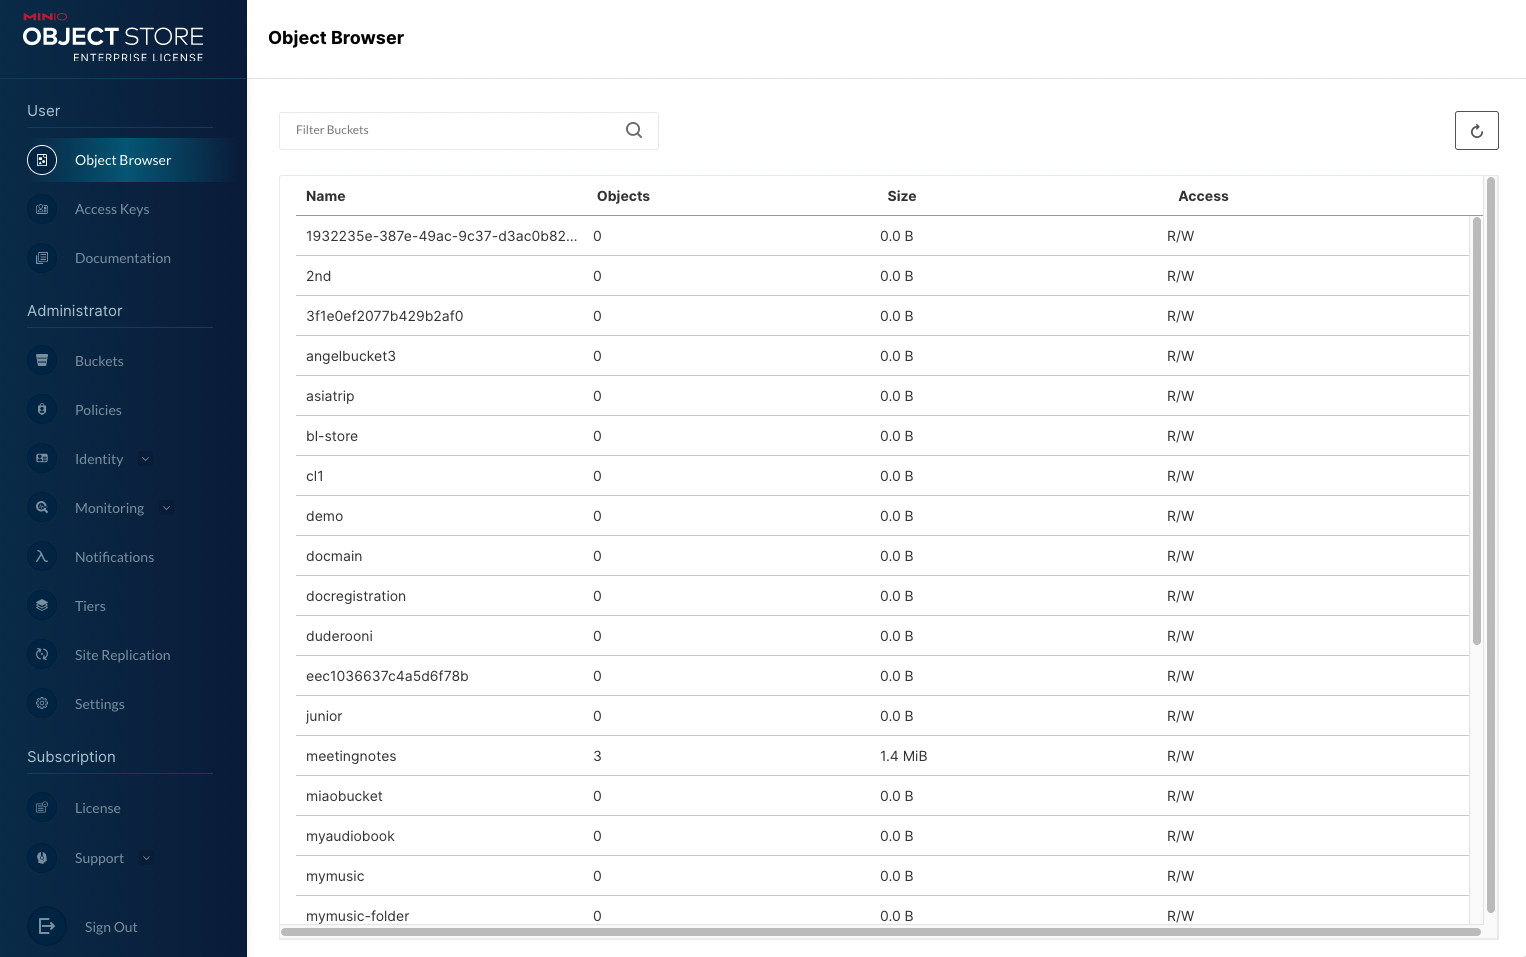
For more information, see the MinIO Console documentation.
(Optional) Install the MinIO Client
The MinIO Client allows you to work with your MinIO volume from the commandline.
Run the following commands to install the latest stable MinIO Client package using Homebrew.
brew install minio/stable/mc
To use the command, run
mc {command} {flag}
Download the standalone MinIO server for MacOS and make it executable.
curl -O https://dl.min.io/client/mc/release/darwin-arm64/mc
chmod +x mc
sudo mv mc /usr/local/bin/mc
To use the command, run
mc {command} {flag}
Download the standalone MinIO server for MacOS and make it executable.
curl -O https://dl.min.io/client/mc/release/darwin-amd64/mc
chmod +x mc
sudo mv mc /usr/local/bin/mc
To use the command, run
mc {command} {flag}
Use
mc alias setto quickly authenticate and connect to the MinIO deployment.mc alias set local http://127.0.0.1:9000 minioadmin minioadmin mc admin info local
The
mc alias settakes four arguments:The name of the alias
The hostname or IP address and port of the MinIO server
The Access Key for a MinIO user
The Secret Key for a MinIO user
For additional details about this command, see mc alias set.